|
Lesson 1
Register Box Installation
Installation of the register box in light commercial applications can be very simple task:
  P. 1 P. 2 P. 1 P. 2
You just have to spot it in the middle of the duct, trace the inner lip on the duct with a magic marker, cut an opening and screw a register box in place.
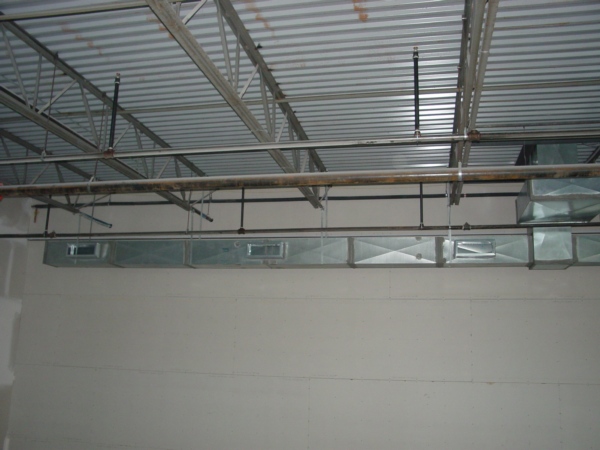
The most difficult part of this installation is to lay out the register boxes on the duct. These boxes should be mounted evenly so all the final installation looks professional. In order to do that you may use several methods. For example if you look at P. 2, you will see that there are two register boxes mounted to the three pieces of duct.
This is the easiest case, because you just have to cut an opening 20" away from the plenum and from the duct's end and it will look great!
Why is there 20"? Because according to code the last opening in the supply duct should be, at least from 12" to 18" away from the end cap and you don't want to put the first register box too close to the supply plenum.
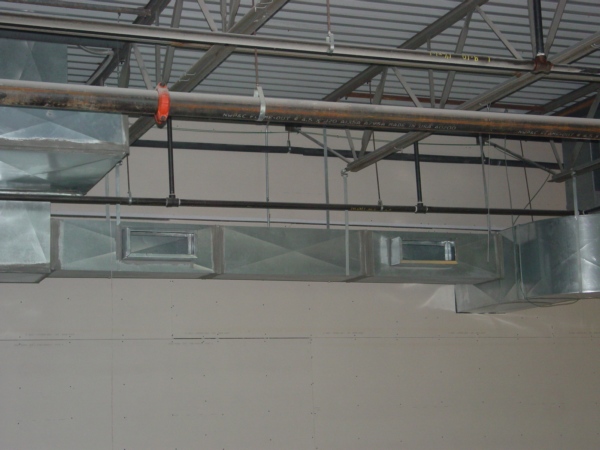
For the duct in P. 1, you may use two methods. You also can install the first and the last register boxes, measure the distance in between, divide it by two and it will give you the centerline for the third box. Alternatively, you can use another method, but learn about this method below.
  P. 3 P. 4 P. 3 P. 4
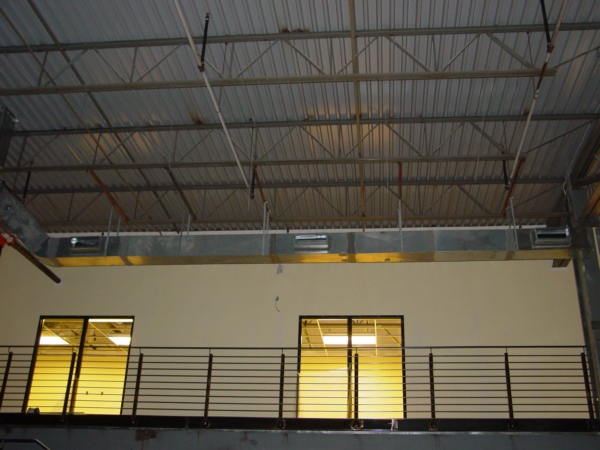
In P. 3 you can see the installation of three register boxes on seven 4' long pieces of duct.
This is also a very simple installation:
- Cut in first box 20" away from the flat 45*
- Cut in last box 20" away from the end cap
- Cut in middle box right in the middle of the fourth duct
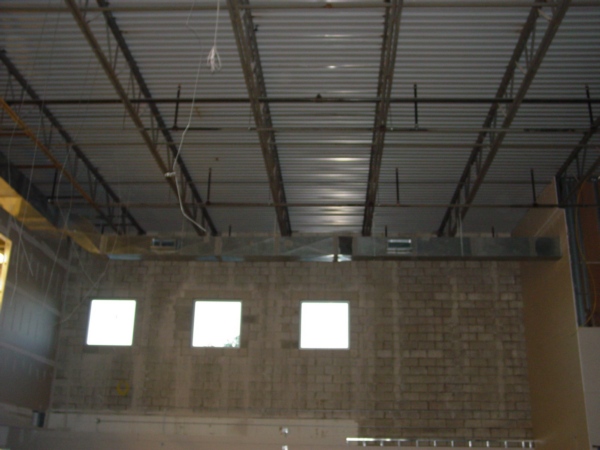
In P. 4 I put register boxes on the same distance from the walls rather lay them out evenly on the duct. In this particular case, I set them evenly for the shop width instead of laying them nicely on the duct.
P. 5 P. 6
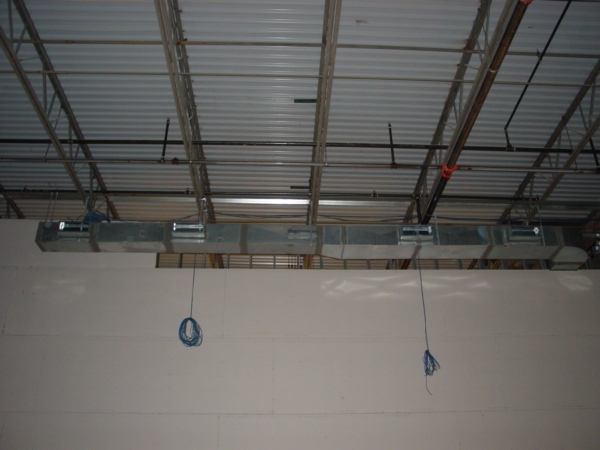
However, the most difficult case is presented in P. 5. As you can see this duct consists of three pieces of 14" x 16", transition and four pieces of the 14" x 12" ducts.
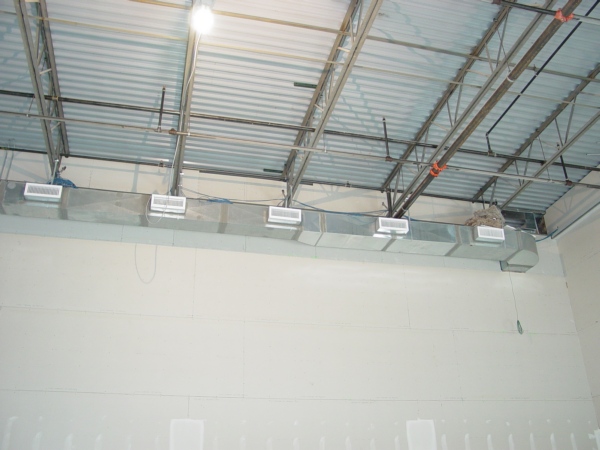
In order to mount five register boxes I used a special method of calculation. The same method I've used when I set the same kind of register boxes on the round spiral pipe. (In the P. 6 job is done, registers installed)
If you would like to learn this method, you can purchase an instant eccess to the quiz below (only $2.00) or send me all three answers to it.
If you'll purchase an access to the quiz you are going to get an answers to the questions instantly, otherwise I will send you the right answer in response to your email for free!
And the last couple of things I would like to draw your attention to is the following:
  P. 7 P. 8 P. 7 P. 8
If as a result of your calculations the register box appears right where the hanger strap or connection of the ducts is put it exactly in the place where it should be installed.
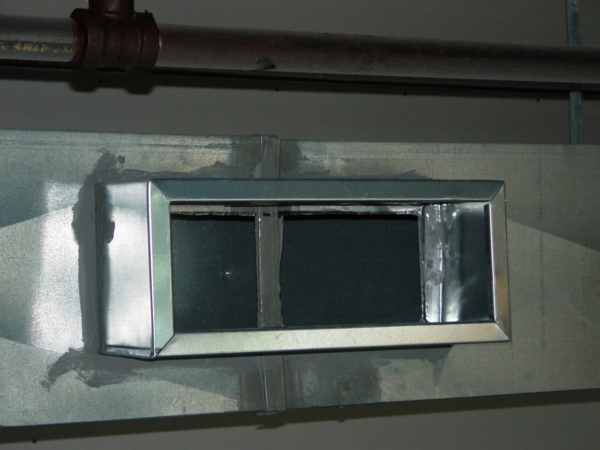
In the case of the hanger strap (P. 7):
- Unscrew screws that fastened the hanger strap to the duct
- Swing hanger strap aside
- Mark and cut an opening out
- Screw hanger strap back on
- Fasten a register box over the opening in the duct
- Seal the gap with a duct sealer
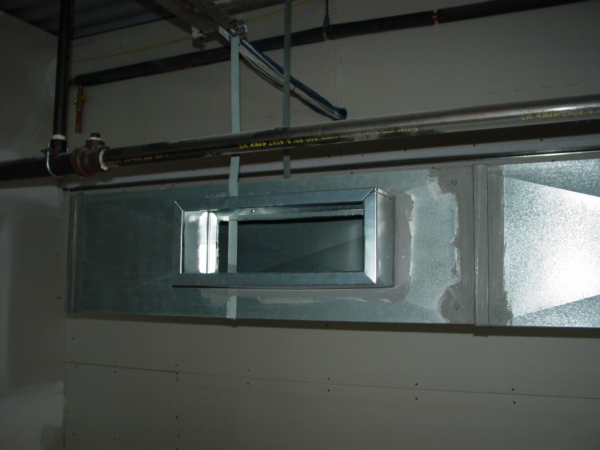
In the case of the drive connection (P. 8):
- Mark and cut duct on both sides of the drive (do not cut drive out)
- Fasten the register box over the opening in the duct, but use extra screws near the drive in order to reduce gap between register box and duct
- Seal the gap with a duct sealer
Tip. While installing register boxes by using the methods presented in the quiz below start measuring distance and marking register boxes from an already mounted box at one end and after few box spots were marked out continue from the other register box already mounted at another end, this may help you to avoid some measuring and marking mistakes.
While working with sheet metal put on gloves and visit Safety Techniques and Disclaimer pages.
|