|
1. List of materials needed for the project:
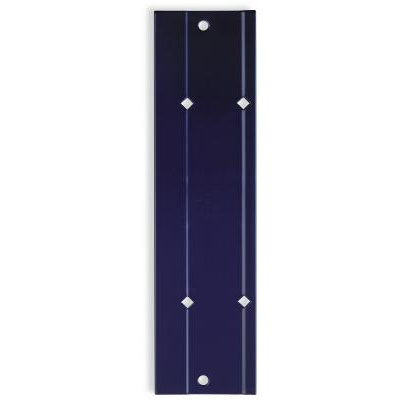
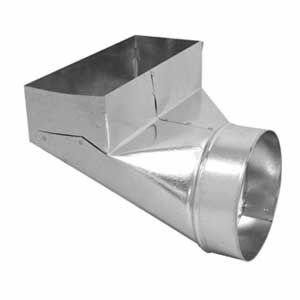 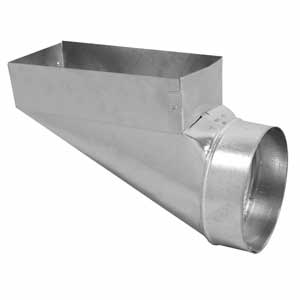 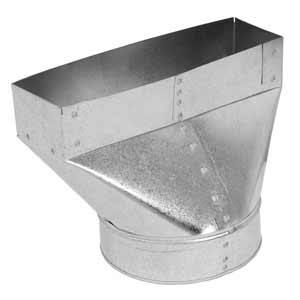 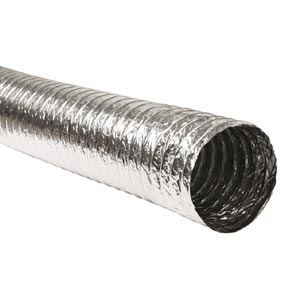 1. 90’ Boot 2. End Boot 3. Straight Boot 4. Metalized Flex 1. 90’ Boot 2. End Boot 3. Straight Boot 4. Metalized Flex
5. 1”x 2”x 23 ¾” Angles
6. ½” Zip Screws
7. Duct Tape or Zip Ties
2. List of the tools needed for the project:
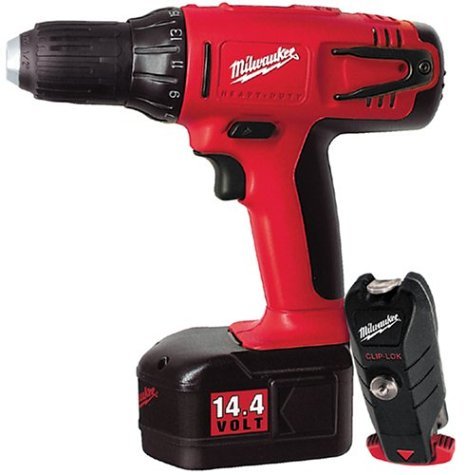  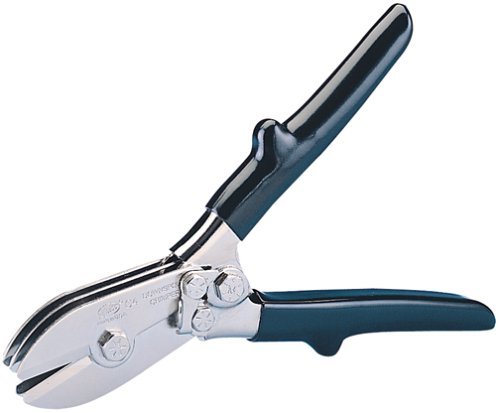
1. Cordless Drill 2. Tape Measure 3. Crimpier
 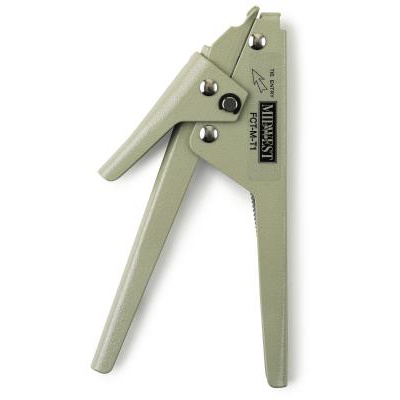 
4. Drywall Saw 5. Zip Tie Puller/Cutter 6. 12” Bar Folder
7. 10”x 4” Template
Step # 1 – Mark out an opening for the register and cut it out
- Place a 10”x 4” template in the.......
This is a parent page. If you would like to read more you can buy an access to the secondary page for only $2.50. You can pay right here on this page by using a "Buy Now" button below.
Installation on the paid page might not exactly describe your upcoming project. However, it will give you an important example of how this type of installation should be done. In addition, it will open the gates for as many questions as necessary to make sure that the job is done right.
In order to gain an access to the secondary page you have to pay the access fee of $2.50. Just click on the “Buy Now” button below. Once you pay, you will gain an instant access to the page!
Instant Access:
After you have purchased a paid page; PayPal is going to bring you back to my website. In order to see the paid page you have to click on the “Register” button, fill out the form, choose your own Username and Password and click on the “Register” button at the bottom of the form – congratulation, you are now on the page you have paid for!
Important: After you have purchased any Paid page or Download page and PayPal brought you back to my website, the first thing that you should do is to save that page to your Favorites. Then if something goes wrong you always can come back to re-register yourself on my website again.
|