|
|
How to Use Risers and Vertical Elbows
|
|
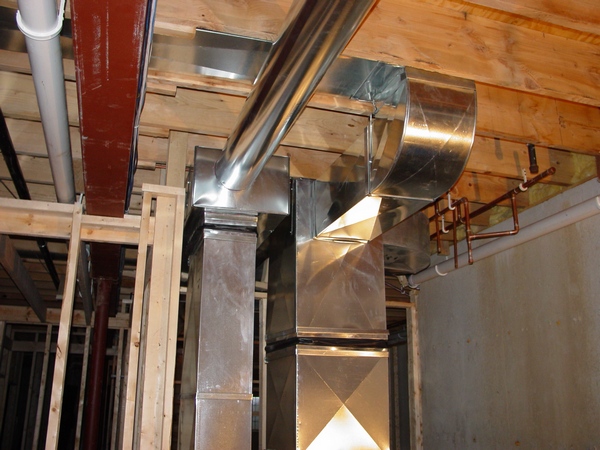
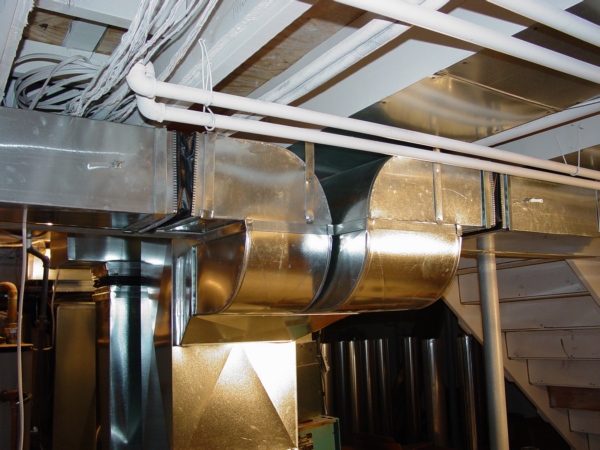
Risers
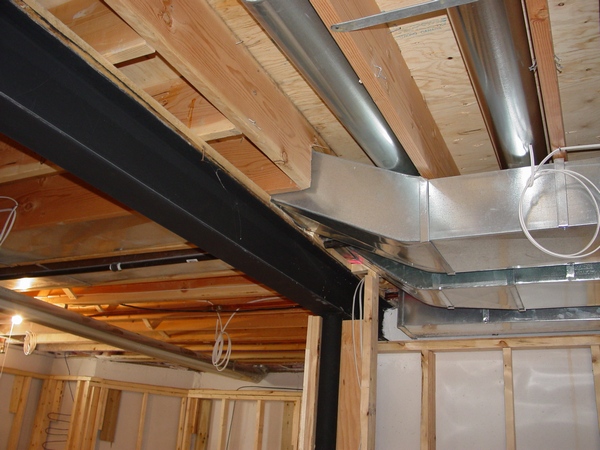 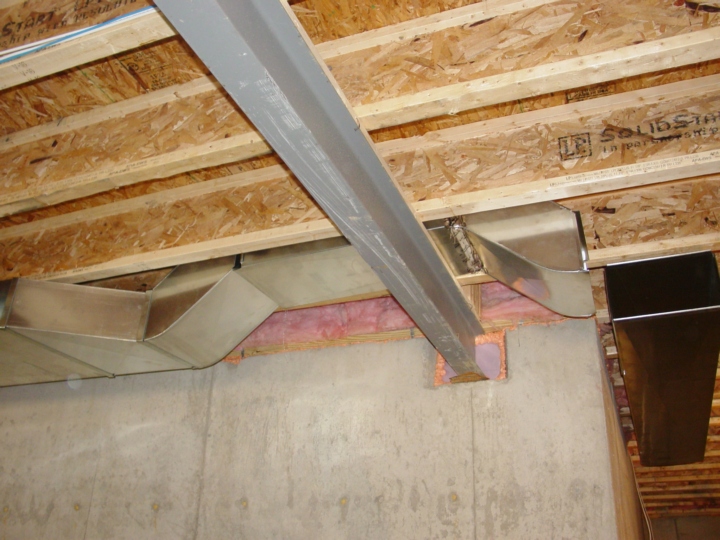
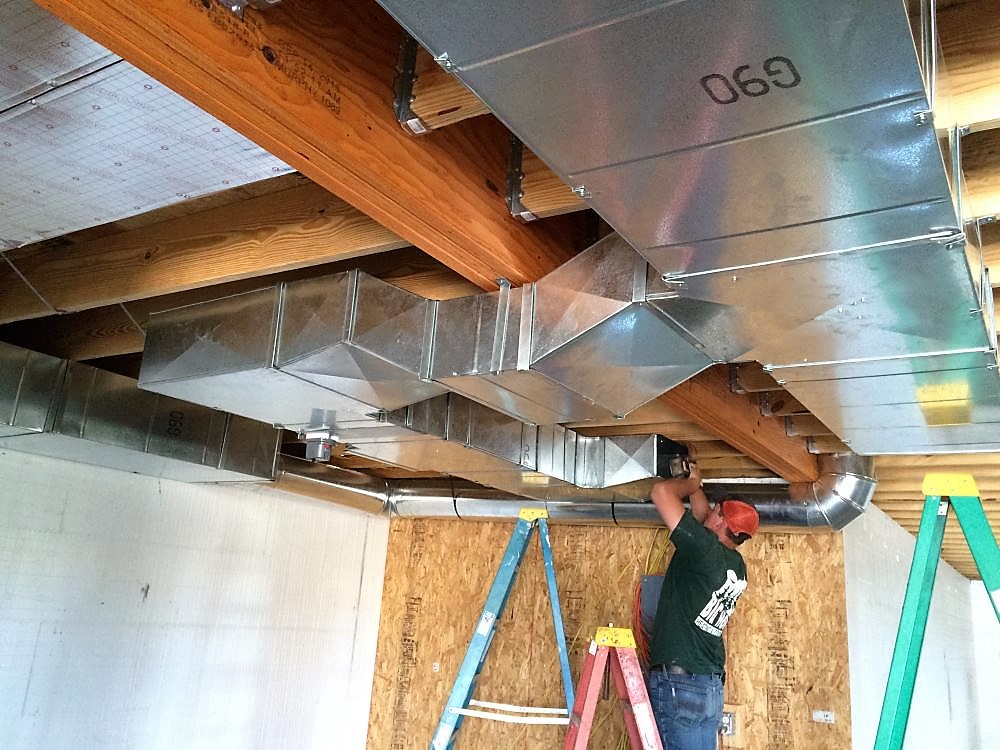
Risers are commonly used when duct should be run above or below I-beams in the cases where joists change hands or ducts run along the joists.
When duct should be run above the I-beam, if possible, I’d recommend joining as many parts and fittings as you can – this trick may make your installation much easier.

On the rare occasion duct may keep its height on the longer distance, or could rise up right after it passed an I-beam.
 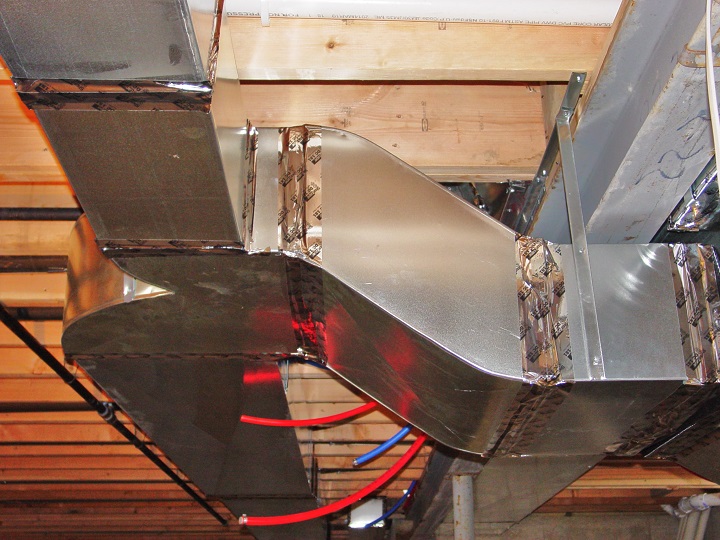
The larger size ducts can’t be fit between joists you have no choice, but run below the I-beams.
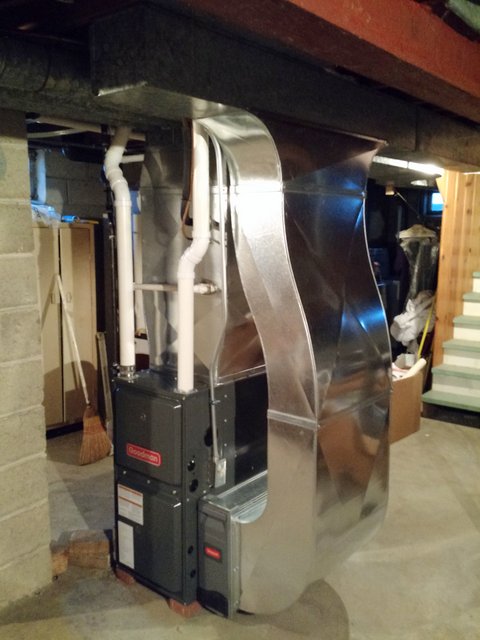 
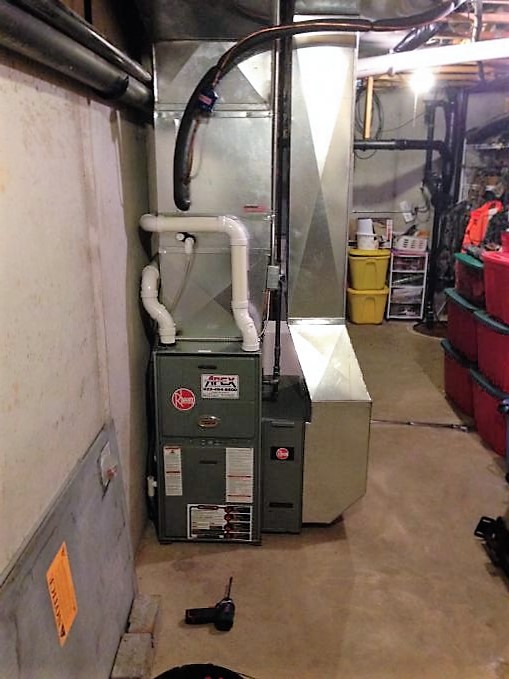
Also risers could be used for furnace replacements, because you may need to hook up your new cold air return boot to the existing hole in the old duct.
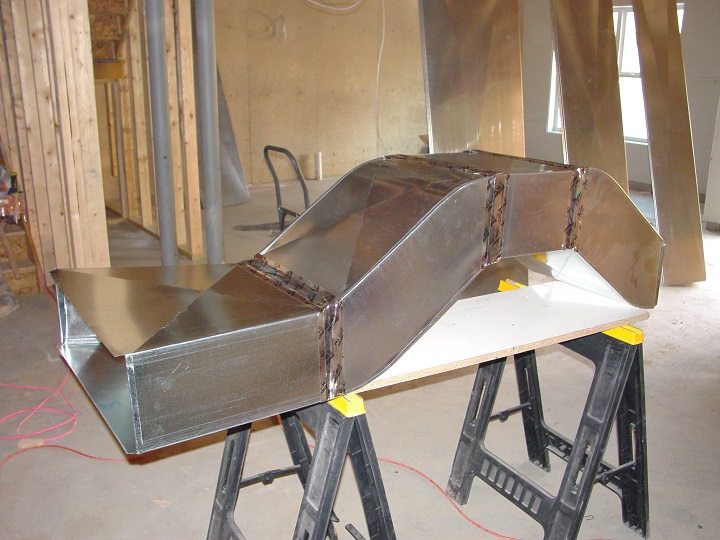
In some companies people who know what they are doing make risers and other fittings nice and neat, just like you saw it above, while in the others they make them wrong!
So, if you would like to learn how to make risers the right way you may purchase a couple of chapters from my Tutorial for Totally Hand-Made Duct Fittings e-book below.
|
|
8. Now to Make Radius Riser with Hand Tools
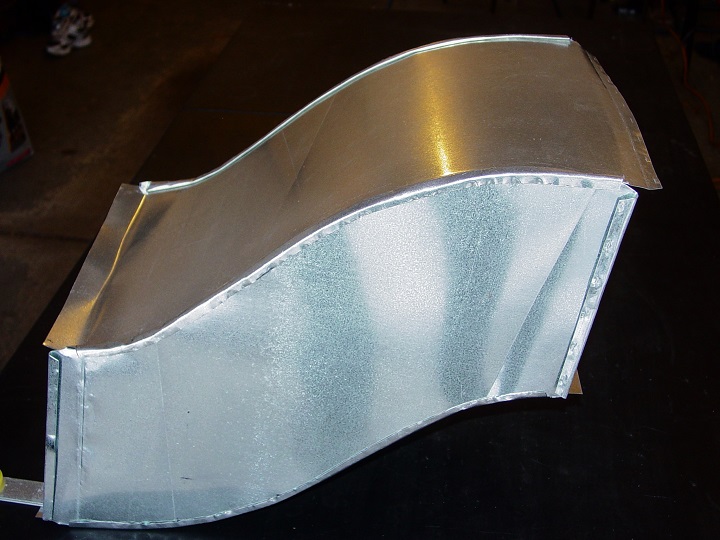 For the residential applications risers usually used in the cases when you need to bring duct up in the joist space, get it down from the joist cavity or rise it after it passed an I-beam. In the first two cases the rise itself for the 10" (12", 14") x 8" duct could be 8" - 9", in the third one usually it starts from 9 ½" - height of an I-beam plus a bottom board. If an I-beam is taller then the riser should be taller as well. For the residential applications risers usually used in the cases when you need to bring duct up in the joist space, get it down from the joist cavity or rise it after it passed an I-beam. In the first two cases the rise itself for the 10" (12", 14") x 8" duct could be 8" - 9", in the third one usually it starts from 9 ½" - height of an I-beam plus a bottom board. If an I-beam is taller then the riser should be taller as well.
So, if you would like to learn how to make a 12" x 8" riser with a 9 ½" rise by using only hand-tools, please hit the Buy Now button below. Then, for the price of only $2.50 you will gain an instant access to the unique page with 38 high quality photos on it set in the step-by-step sequence with brief explanations.
|
|
15. How to Make Square Throat Riser with Hand Tools
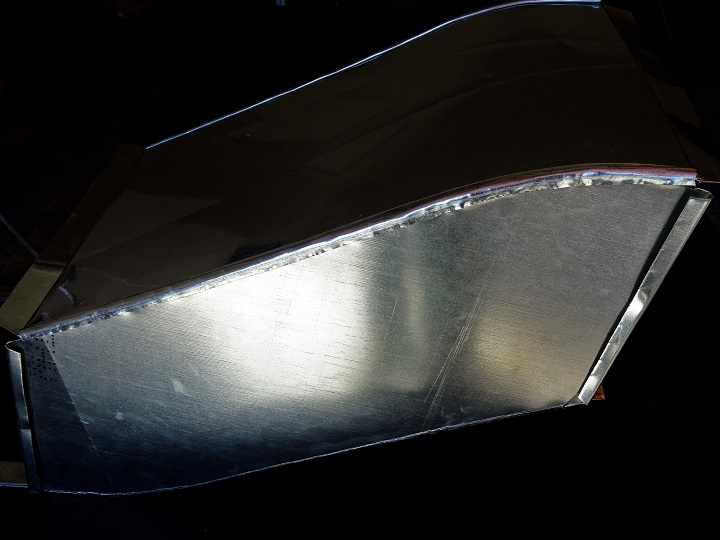 For the residential applications risers usually used in the cases when you need to bring duct up in the joist space, get it down from the joist cavity or rise it after it passed an I-beam. In the first two cases the rise itself for the 10" (12", 14") x 8" duct could be 8" - 9", in the third one usually it starts from 9 ½" - height of an I-beam plus a bottom board. If an I-beam is taller then the riser should be taller as well. For the residential applications risers usually used in the cases when you need to bring duct up in the joist space, get it down from the joist cavity or rise it after it passed an I-beam. In the first two cases the rise itself for the 10" (12", 14") x 8" duct could be 8" - 9", in the third one usually it starts from 9 ½" - height of an I-beam plus a bottom board. If an I-beam is taller then the riser should be taller as well.
So, if you would like to learn how to make a 12" x 8" riser with a 9 ½" rise by using only hand-tools, please hit the Buy Now button below. Then, for the price of only $2.50 you will gain an instant access to the unique page with 38 high quality photos on it set in the step-by-step sequence with brief explanations.
Also on the page you can learn how to make the shortest offset or riser.
|
|
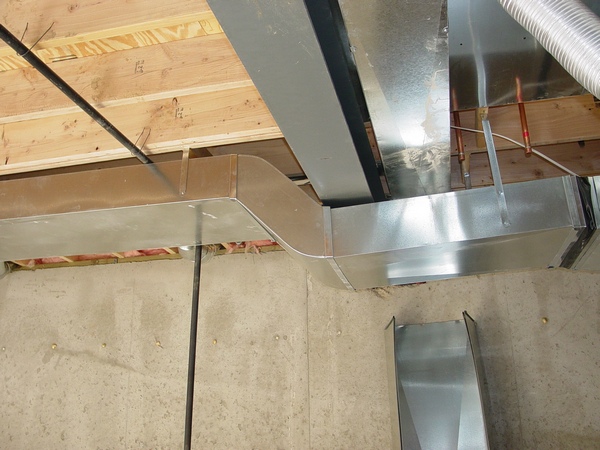
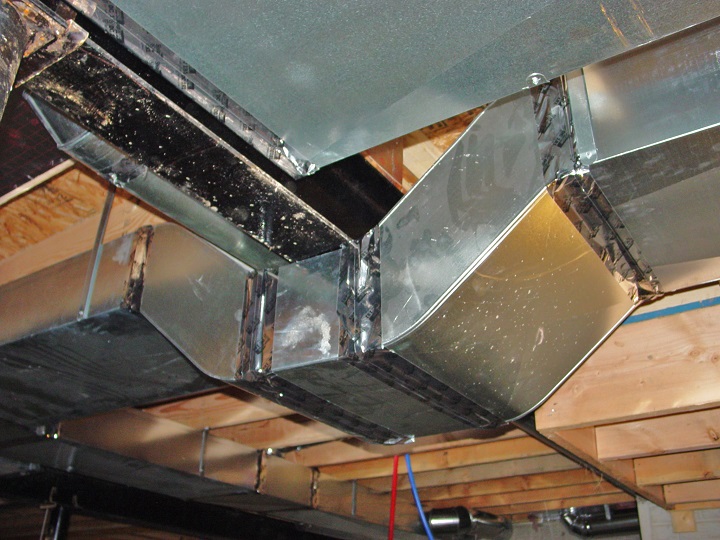
Vertical Elbows
Vertical elbows often used in the cases when you need to penetrate into the joist space and immediately change direction.
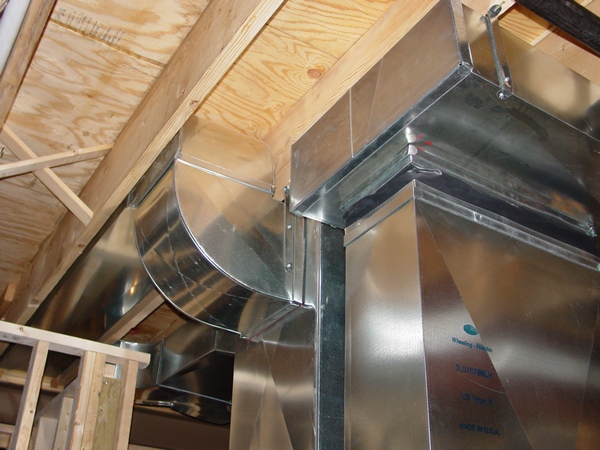
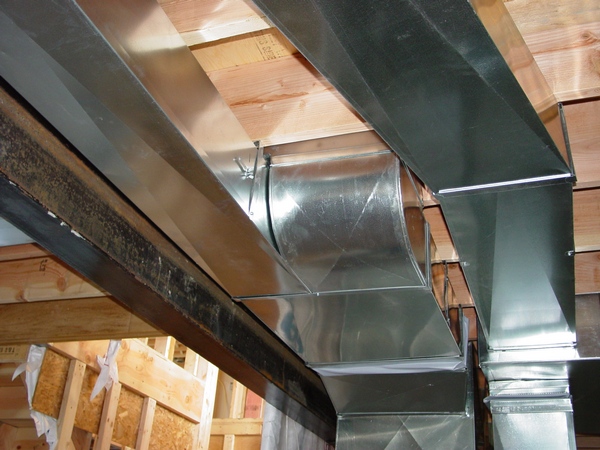
In some cases it could be a single duct while in the others a larger duct can be split in two.
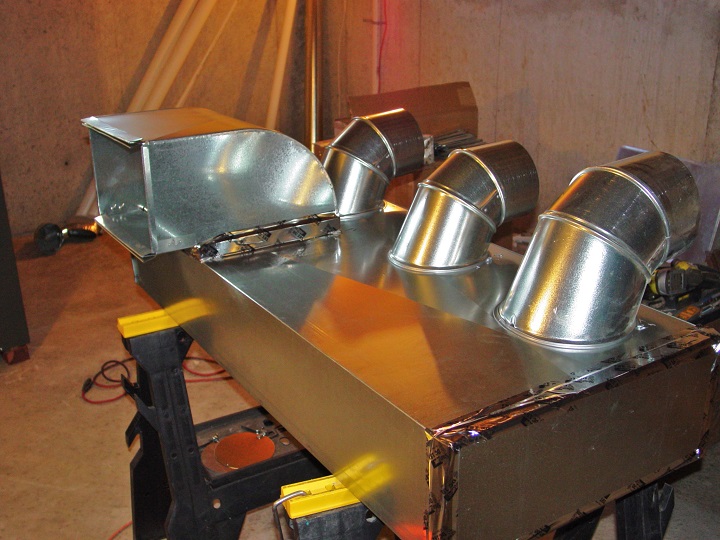
And in the last case the main duct was split immediately after it passed under the I-beam. And finally a vertical elbow can be used as a take-off.
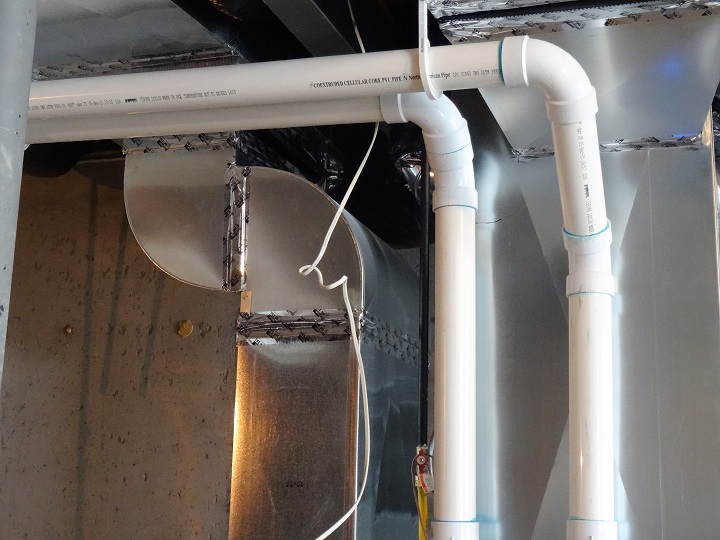
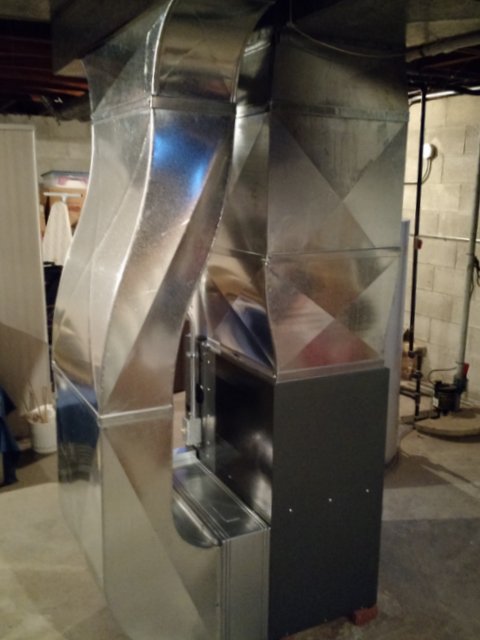
Another type of vertical elbows can be used as a riser. The idea behind it is to keep a cold air return drop as tall as possible for a convenient humidifier installation.
So, if you would like to learn how to make vertical elbows you may purchase a couple of chapters from my Tutorial for Totally Hand-Made Duct Fittings e-book below or a Tutorial itself as a whole.
|
|
12. How to Make Vertical Elbow with Hand Tools
 On this page for the price of only $2.50 you can learn how to make a vertical 8" x 14" square throat elbow by using only hand-tools. This tutorial has 32 high quality pictures with brief explanations. On this page for the price of only $2.50 you can learn how to make a vertical 8" x 14" square throat elbow by using only hand-tools. This tutorial has 32 high quality pictures with brief explanations.
|
|
13. How to Make Square to Rectangular Vertical Elbow with Hand Tools
 This type of elbows usually used when a duct should be run inside the joist cavity with change its direction. Also it could be joined to the larger size duct just like a take-off. This type of elbows usually used when a duct should be run inside the joist cavity with change its direction. Also it could be joined to the larger size duct just like a take-off.
In this tutorial for the price of only $2.50 you will learn how to make all four parts of this elbow; how to make the Pittsburg seam lock and how to put this elbow together.
|
|
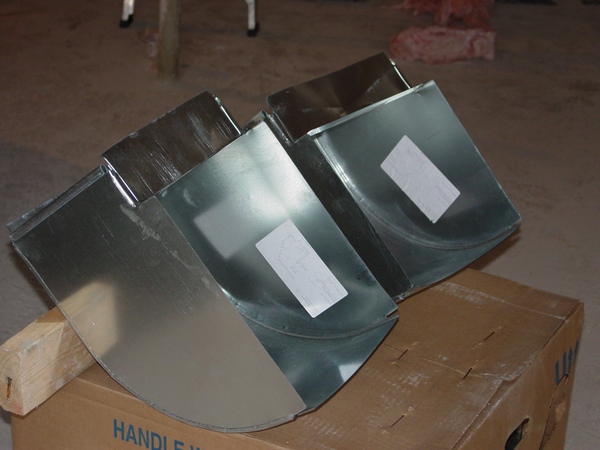
Totally Hand Made Duct Fittings
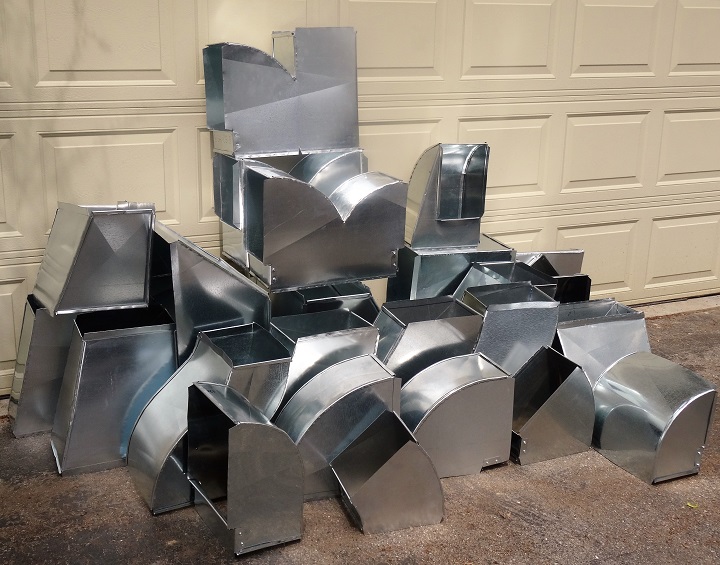 Not too long ago I, like many of you, sincerely thought that the way of making any kinds of sheet metal fittings is only possible by using sheet metal brake and metal forming machines! Not anymore: Not too long ago I, like many of you, sincerely thought that the way of making any kinds of sheet metal fittings is only possible by using sheet metal brake and metal forming machines! Not anymore:
From late Fall and Winter of 2015 through May 2016 I made more than twenty most frequently-used sheet metal fittings without using any of these very expensive machines.
All the fitting that you see in the picture on the left I made with hand-tools only!
The price of all 35 tutorials below, if you would buy them separately is $90.00, however if you would like to purchase an instant access to all of them at the same time you can do it for a low price of only $29.99!
List of Tutorials:
- How to Make Cone Reducer
- How to Make Square to Round Offset Transition
- How to Make Round to Square Transition
- How to Make 45* Roof Penetration
- How to Make Radius Elbow
- How to Make 45* Radius Elbow
- How to Make Radius Offset
- Now to Make Radius Riser
- How to Make Offset and Riser in One Piece
- How to Make 90* Square Throat Elbow
- How to Make 45* Square Throat Elbow
- How to Make Vertical Elbow
- How to Make Square to Rectangular Vertical Elbow
- How to Make Square Throat Offset
- How to Make Square Throat Riser
- How to Make Square Throat Tee
- How to Make Transition Tee
- How to Make Y- Branch Fitting
- How to Make Riser Starting Transition
- How to Make Flat on Top & Side Starting Transition
- How to Make Centralized Hess Fitting
- How to Make Flat on One Side Hess Fitting
- How to Make 45* Hess Fitting
- How to Make Flat Duct Reducer
- How to Make Vertical Duct Reducer
- How to Make Flat & Vertical Duct Reducer
- How to Make Transition from Your New Furnace to Old Plenum
- How to Make 20 x 20 to 30 x 25, One Inch Offset Transition
- How to Make 24 x 10 to 10 x 24 Duct Transition
- How to Make Transition from Duct with Hand Tools
- How to Make Flat Offset Transition from Duct
- How to Make Transition from Whole Duct
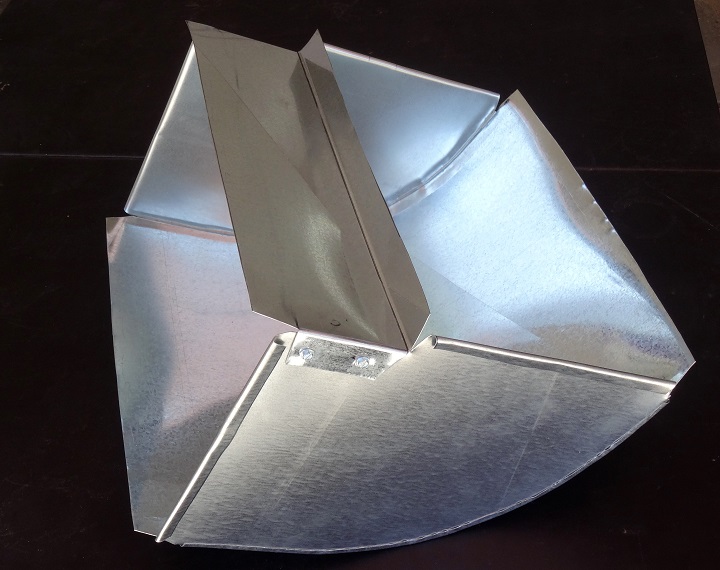
- How to Make Turning Veins
- How to Make Wye with Hand Tools
- How to Make Round End Cap with Hand Tools
|
|
|
A website "ductworkinstallation. com" focus on providing information and services related to the installation of ductwork systems , which are the tubes used to distribute heated or cooled air throughout a building as part of an HVAC system; essentially, it would be a platform for individuals or companies specializing in designing and installing ductwork for homes and commercial properties, offering details on the process, and potential contractors to contact for such services.
Key points about ductwork installation websites:
Services offered:
New ductwork installation, ductwork repair, duct cleaning, duct sealing, airflow balancing.
Target audience:
Homeowners looking to install a new HVAC system, individuals experiencing issues with their existing ductwork, commercial property owners needing ductwork for large buildings.
Information provided:
Explanations on different types of duct materials, design considerations for optimal airflow, potential benefits of proper ductwork installation.
|
|