| Related Pages: |
|
Plenum Installation
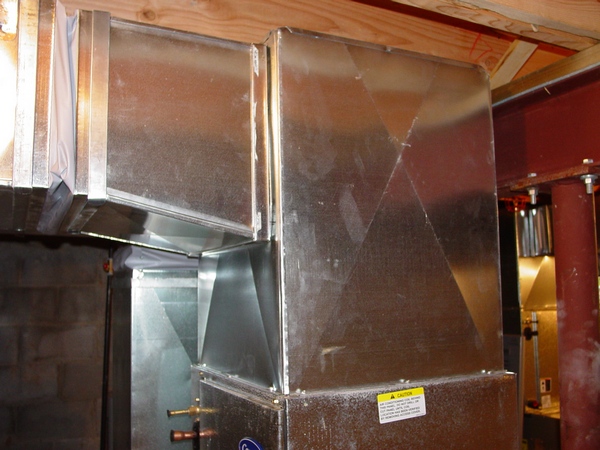
A supply air plenum is a sheet metal box that attaches to the outlet of a furnace, air handler, or AC coil and is used as a central manifold for other ductwork or take-offs to connect to...
|
|
How to Do Elbow Adjustment

The elbow, which is a basic part of a jumper, consists of four parts. They are fastened to each other with a special seam. All these four parts can be moved back and forth in relation to each other that allow you to achieve definite purposes at installation...
|
|
Venting
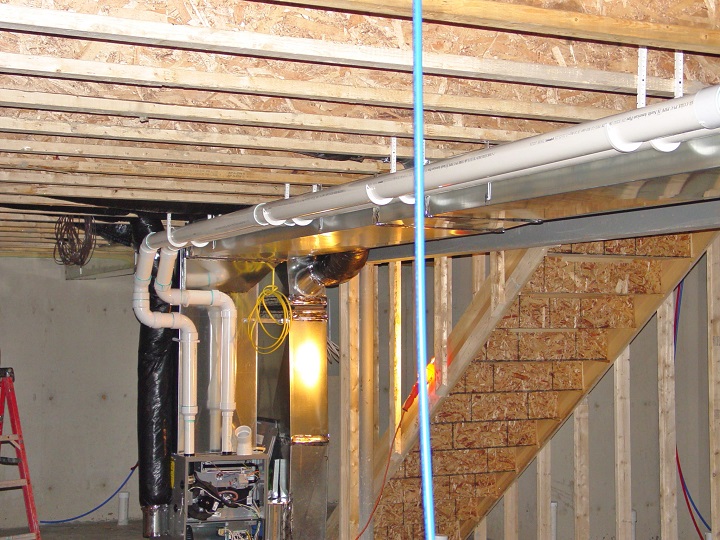
For the 90 % + furnaces, venting should be done with use of the PVC pipes. For the 80,000 BTU furnaces usually they use 2”PVC pipes, and for the 100,000 and higher BTU furnaces - 3” PVC pipes...
|
|
Installation of Heating Systems in Big Houses
Custom homes that are more than 5000 square feet require a special approach. In such houses it's impossible to run all the ductwork in the basement because of the floor plans features - an open-concept of the living area and there is simply not enough walls to run all necessary heat runs and cold air returns...
|
|
Duct Offset and Riser Formula
On this page you can find out how to calculate an Offset and a Riser, and formulas on how to find a distance between two flat and stack forty-fives and more!
|
|
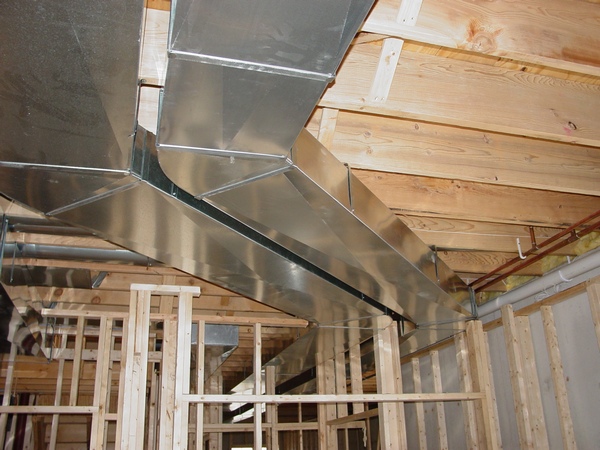
Jumper Installation
In my experience, Jumper installation appears as the most difficult issue to study in this trade. Probably, this result from the fact, that apprentices and even experienced installers cannot understand how to turn elbow's parts over the right way and cannot remember the sequence of execution of work.
|
|
| Ductwork Installation Tips and Tricks |
|
Every profession has its own tips and tricks and the profession of the ductwork installer has them as well, a lot of them! On this and on the following pages I would like to introduce forty one topic dedicated to this issue.
The price for any tip or trick is only $1.00 and if you decide to purchase all 45 of them at once you can do it just for $9.99 and save!
Instant Access:
After you have purchased a paid page; PayPal is going to bring you back to my website. In order to see the paid page you have to click on the “Register” button, fill out the form, choose your own Username and Password and click on the “Register” button at the bottom of the form – congratulation, you are now on the page you have paid for!
Important: After you have purchased any Paid page or Download page and PayPal brought you back to my website, the first thing that you should do is to save that page to your Favorites. Then if something goes wrong you always can come back to re-register yourself on my website again.
Describe in details how this or that tip or trick was implemented and get any paid page for free!
Submit an additional tip or trick of your own and get any five paid pages free of charge!
You can purchase any tip or trick below and if you purchase the e-book as whole I’ll refund your money back to your PayPal account.
|
|
1. Existing Plenum Transformation Trick
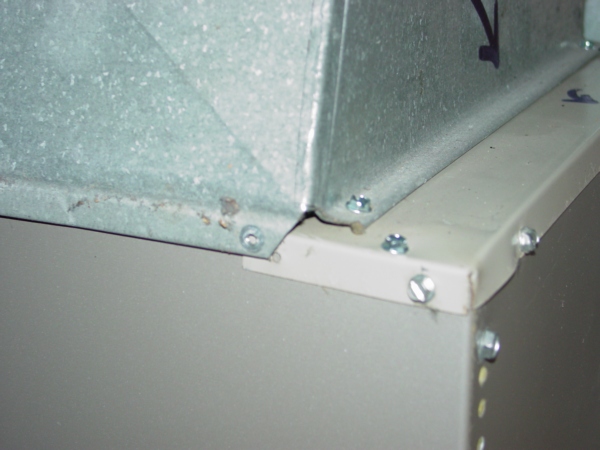 Sometimes, when you’re replacing an old furnace, the existing plenum is larger than a new furnace just for 1”. Sometimes, when you’re replacing an old furnace, the existing plenum is larger than a new furnace just for 1”.
In this case you may avoid making a new plenum but unfold one of the flanges on the existing one and screw it right to the side.
However, as you can see it in the picture, the unfolded flange isn’t long enough to be fastened to the furnace jacket. No problem! I resolved this issue in 5 minutes!
How did I do it?
If you need the answer click on the "Buy Now" button below and get step-by-step instructions instantly only for $1.00!
There are 2 pictures on the page.
|
|
2. Broken Elbow Tip
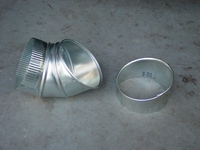
Last week I was working in the basement doing heat runs, when I found out that I’m out of 6” elbows. After searching in boxes I found a couple, but they were broken. It was what I needed! In matter of seconds I fixed it and get the job done!
How did I do it?
Fixing a broken elbow is a very easy task! But nobody knows how to do that! Why? Because nobody cares! The tin knocker will send it back to the shop or just throw them away. But if you are a self-employed contractor you probably don’t have too much time to waste! You don't need no extra trip to the freakin job! So, for the price of only $1.00 I can explain how to fix a broken elbow in no time!
There are 4 pictures on the page.
|
|
3. Leaking PVC Pipe Trick
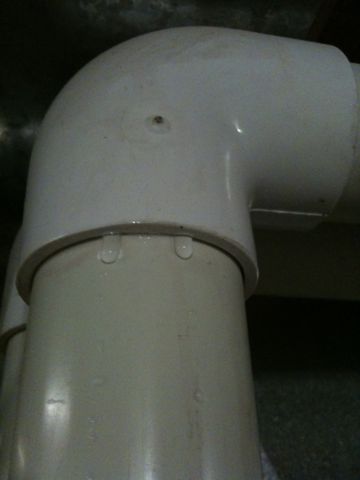 Unfortunately it doesn’t matter how good you use a cleaner and PVC cement, but from time to time those pipes are leaking. The other week my boss sent me to do just that: to fix a leak in the PVC exhaust pipe. Unfortunately it doesn’t matter how good you use a cleaner and PVC cement, but from time to time those pipes are leaking. The other week my boss sent me to do just that: to fix a leak in the PVC exhaust pipe.
When I arrived at the house I found a new guy for at least an hour hopelessly trying to fix the problem. He was applying layer after layer of the PVC cement on a leaking spot but it obviously didn’t work! When he saw me he said that he needs two couplings, two pieces of pipes and a new elbow to replace the leaking one. I said no, this is not how in our company we fix such minor problems . Nowadays it’s easier to fire your sorry, stupid ass than spend time and materials for nothing! So I’ve fixed that leak in less than 3 minutes!
How did I do it?
The problem which was resolved above can occur in any house at any time. If you want to save money and time instead of calling for an HVAC tech or a plumber ($ 80.00 only for a knock at the door) you can fix it very easy by yourself. With the tools which you already have and materials that you can buy you can fix it for less than $10
So, purchase a solution to the problem just for $1.00 – do it yourself and save!
There are 6 pictures on the page.
|
|
4. Heat Runs in Floor Trusses Trick

The other day I was running 6” heat runs in the floor trusses and it was a pretty difficult job. The distance between trusses was only 8” – 8 ½” and trusses themselves were made from 2 x 4 so they were 3 ½” wide. But anyway I’ve managed to run 30” long pieces of the pipes through!
How did I do it?
So, here is one little trick which helped me to make the job done! For the price of only $1.00 I can explain how it should be done!
There are 2 pictures on the page.
|
|
5. 7” Duct Fabrication Trick
Bundle of 6" pipes 7" pipe 4' long
Recently my boss sent me to do a minor repair in Ann Arbor, MI. He called on my sell phone and said that a 6” round pipe in a house that we finished two month ago was smashed and I had to replaced it. He asked if I have any materials, I checked it out and found a bundle of 6” pipes in my truck. One hour later and 45 miles away from any supply house I found out that actually it was 7” pipe! I came back to my truck and found a piece of 7" pipe 4’ long, but I needed a five footer! After using several words one of them just four letters long toward a superintendent who couldn’t tell a 6” from 7” pipe, I made a 15” long piece of 7” pipe from 6” pipe in less than a minute!
How did I do it?
An answer to this question would be very useful for DIY-er and also for anyone working in the ductwork installation field. A simple knowledge how to reduce or increase size of the duct can save you some time and help you to finish a job on time! So, for the price of only $1.00 I can explain how to do that.
There are 4 pictures on the page.
|
|
6. Offset Calculation Tip
 Some of the HVAC installers who are working in this field for some time know the formula: Some of the HVAC installers who are working in this field for some time know the formula:M = ..............
Where: M – How much you have to miter a duct.
O – How much you want to off-set a duct.
W – Width of the duct.
L – Length of the duct.
But I believe almost none of them know how to calculate M if you are dealing with the full length of a duct as you can see it in the picture. The problem here is: when you cut M from the duct it becomes shorter and it doesn’t reach to the point indicated by figure O.
In order to figure it out you are not supposed to be a super tin knocker, anyone who has C and higher - for geometry is able to solve this problem. I’ve resolved it in 5 minutes!
How did I do it?
An answer to this question appears to be a very difficult one! You can do a research on the web as did I and find a very strange explanation with tons of geometrical formulas, which even I with my college degree couldn’t understand! Moreover, I can’t understand how an ordinary tin knocker can use those stupid formulas in the field anyway! So, for the price of only $1.00 I can explain how to do it. |
|
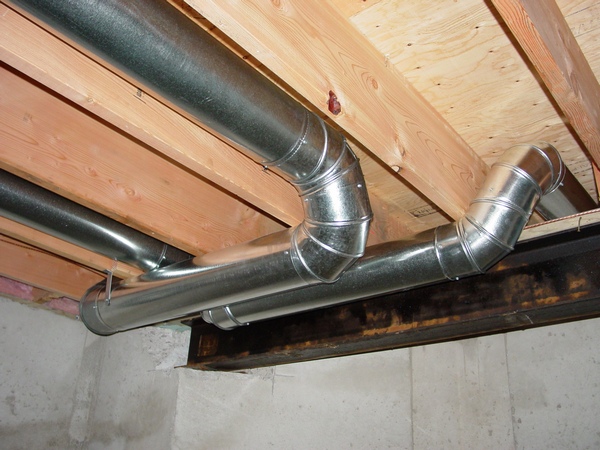
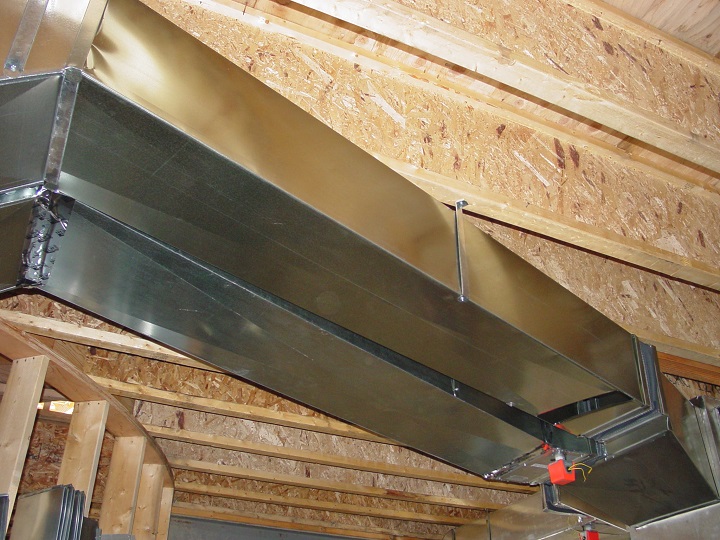
7. "Jumper" Calculation Tip
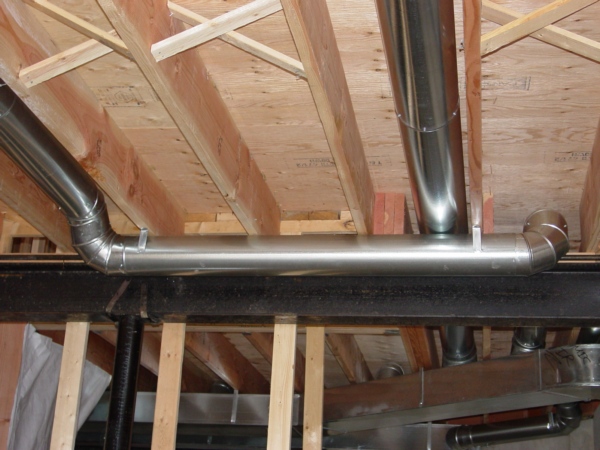 What you can see in the picture is a “jumper”. When I ran a pipe from the joist space on the right to the joist space the left, I didn't even have a pipe there (in the joist space on the left). But anyway I have managed to make the right measurement and placed a pipe in the middle of the joist space. What you can see in the picture is a “jumper”. When I ran a pipe from the joist space on the right to the joist space the left, I didn't even have a pipe there (in the joist space on the left). But anyway I have managed to make the right measurement and placed a pipe in the middle of the joist space.
How did I do it?
For a reason unknown to me a "jumper" always is the most difficult part of the trade, check for example this one out, and from my experience I know that not too many tin knockers know how to calculate a "jumper" the right way. So, for the price of only $1.00 I can explain how to do it.
|
|
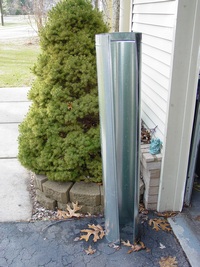
8. 6” Pipe Trick
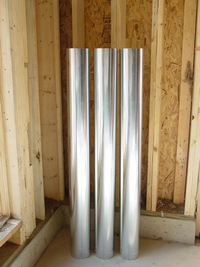 Recently I was working in the basement, doing heat runs, and probably I was thinking too much on how to improve my website! As a result I put together too many six inch pipes – nine of them. When the job was done to my surprise I've discovered nine extra pipes all over the basement. I said to myself – it’s not a big deal! In less than a minute I took them all apart and put them back in a bundle! Recently I was working in the basement, doing heat runs, and probably I was thinking too much on how to improve my website! As a result I put together too many six inch pipes – nine of them. When the job was done to my surprise I've discovered nine extra pipes all over the basement. I said to myself – it’s not a big deal! In less than a minute I took them all apart and put them back in a bundle!
How did I do it?
This one is funny! Recently on one of the Forum websites one of the visitors asked how to unsnap a pipe. Any of you should have read the answers, one of the EXPERTS  even recommended to use a grinder to cut the pipe in pieces, another suggested - just throw them away and buy some new ones for only $7 a piece!!! But you are going to be astonished on how incredibly easy it actually is to unsnap a pipe! So, for the price of only $1.00 I can explain how to do it. even recommended to use a grinder to cut the pipe in pieces, another suggested - just throw them away and buy some new ones for only $7 a piece!!! But you are going to be astonished on how incredibly easy it actually is to unsnap a pipe! So, for the price of only $1.00 I can explain how to do it.
There are 3 pictures on the page.
|
47 Ductwork Installation Tips and Tricks for $9.99
|
New!
If you don't need all 47 Tips & Tricks that's fine! Pick the chapters you need, add more paid pages at discount price from the other parts of this website, create your own e-book on this page and save! |
|
|
A website "ductworkinstallation. com" focus on providing information and services related to the installation of ductwork systems , which are the tubes used to distribute heated or cooled air throughout a building as part of an HVAC system; essentially, it would be a platform for individuals or companies specializing in designing and installing ductwork for homes and commercial properties, offering details on the process, and potential contractors to contact for such services.
Key points about ductwork installation websites:
Services offered:
New ductwork installation, ductwork repair, duct cleaning, duct sealing, airflow balancing.
Target audience:
Homeowners looking to install a new HVAC system, individuals experiencing issues with their existing ductwork, commercial property owners needing ductwork for large buildings.
Information provided:
Explanations on different types of duct materials, design considerations for optimal airflow, potential benefits of proper ductwork installation.
|
|